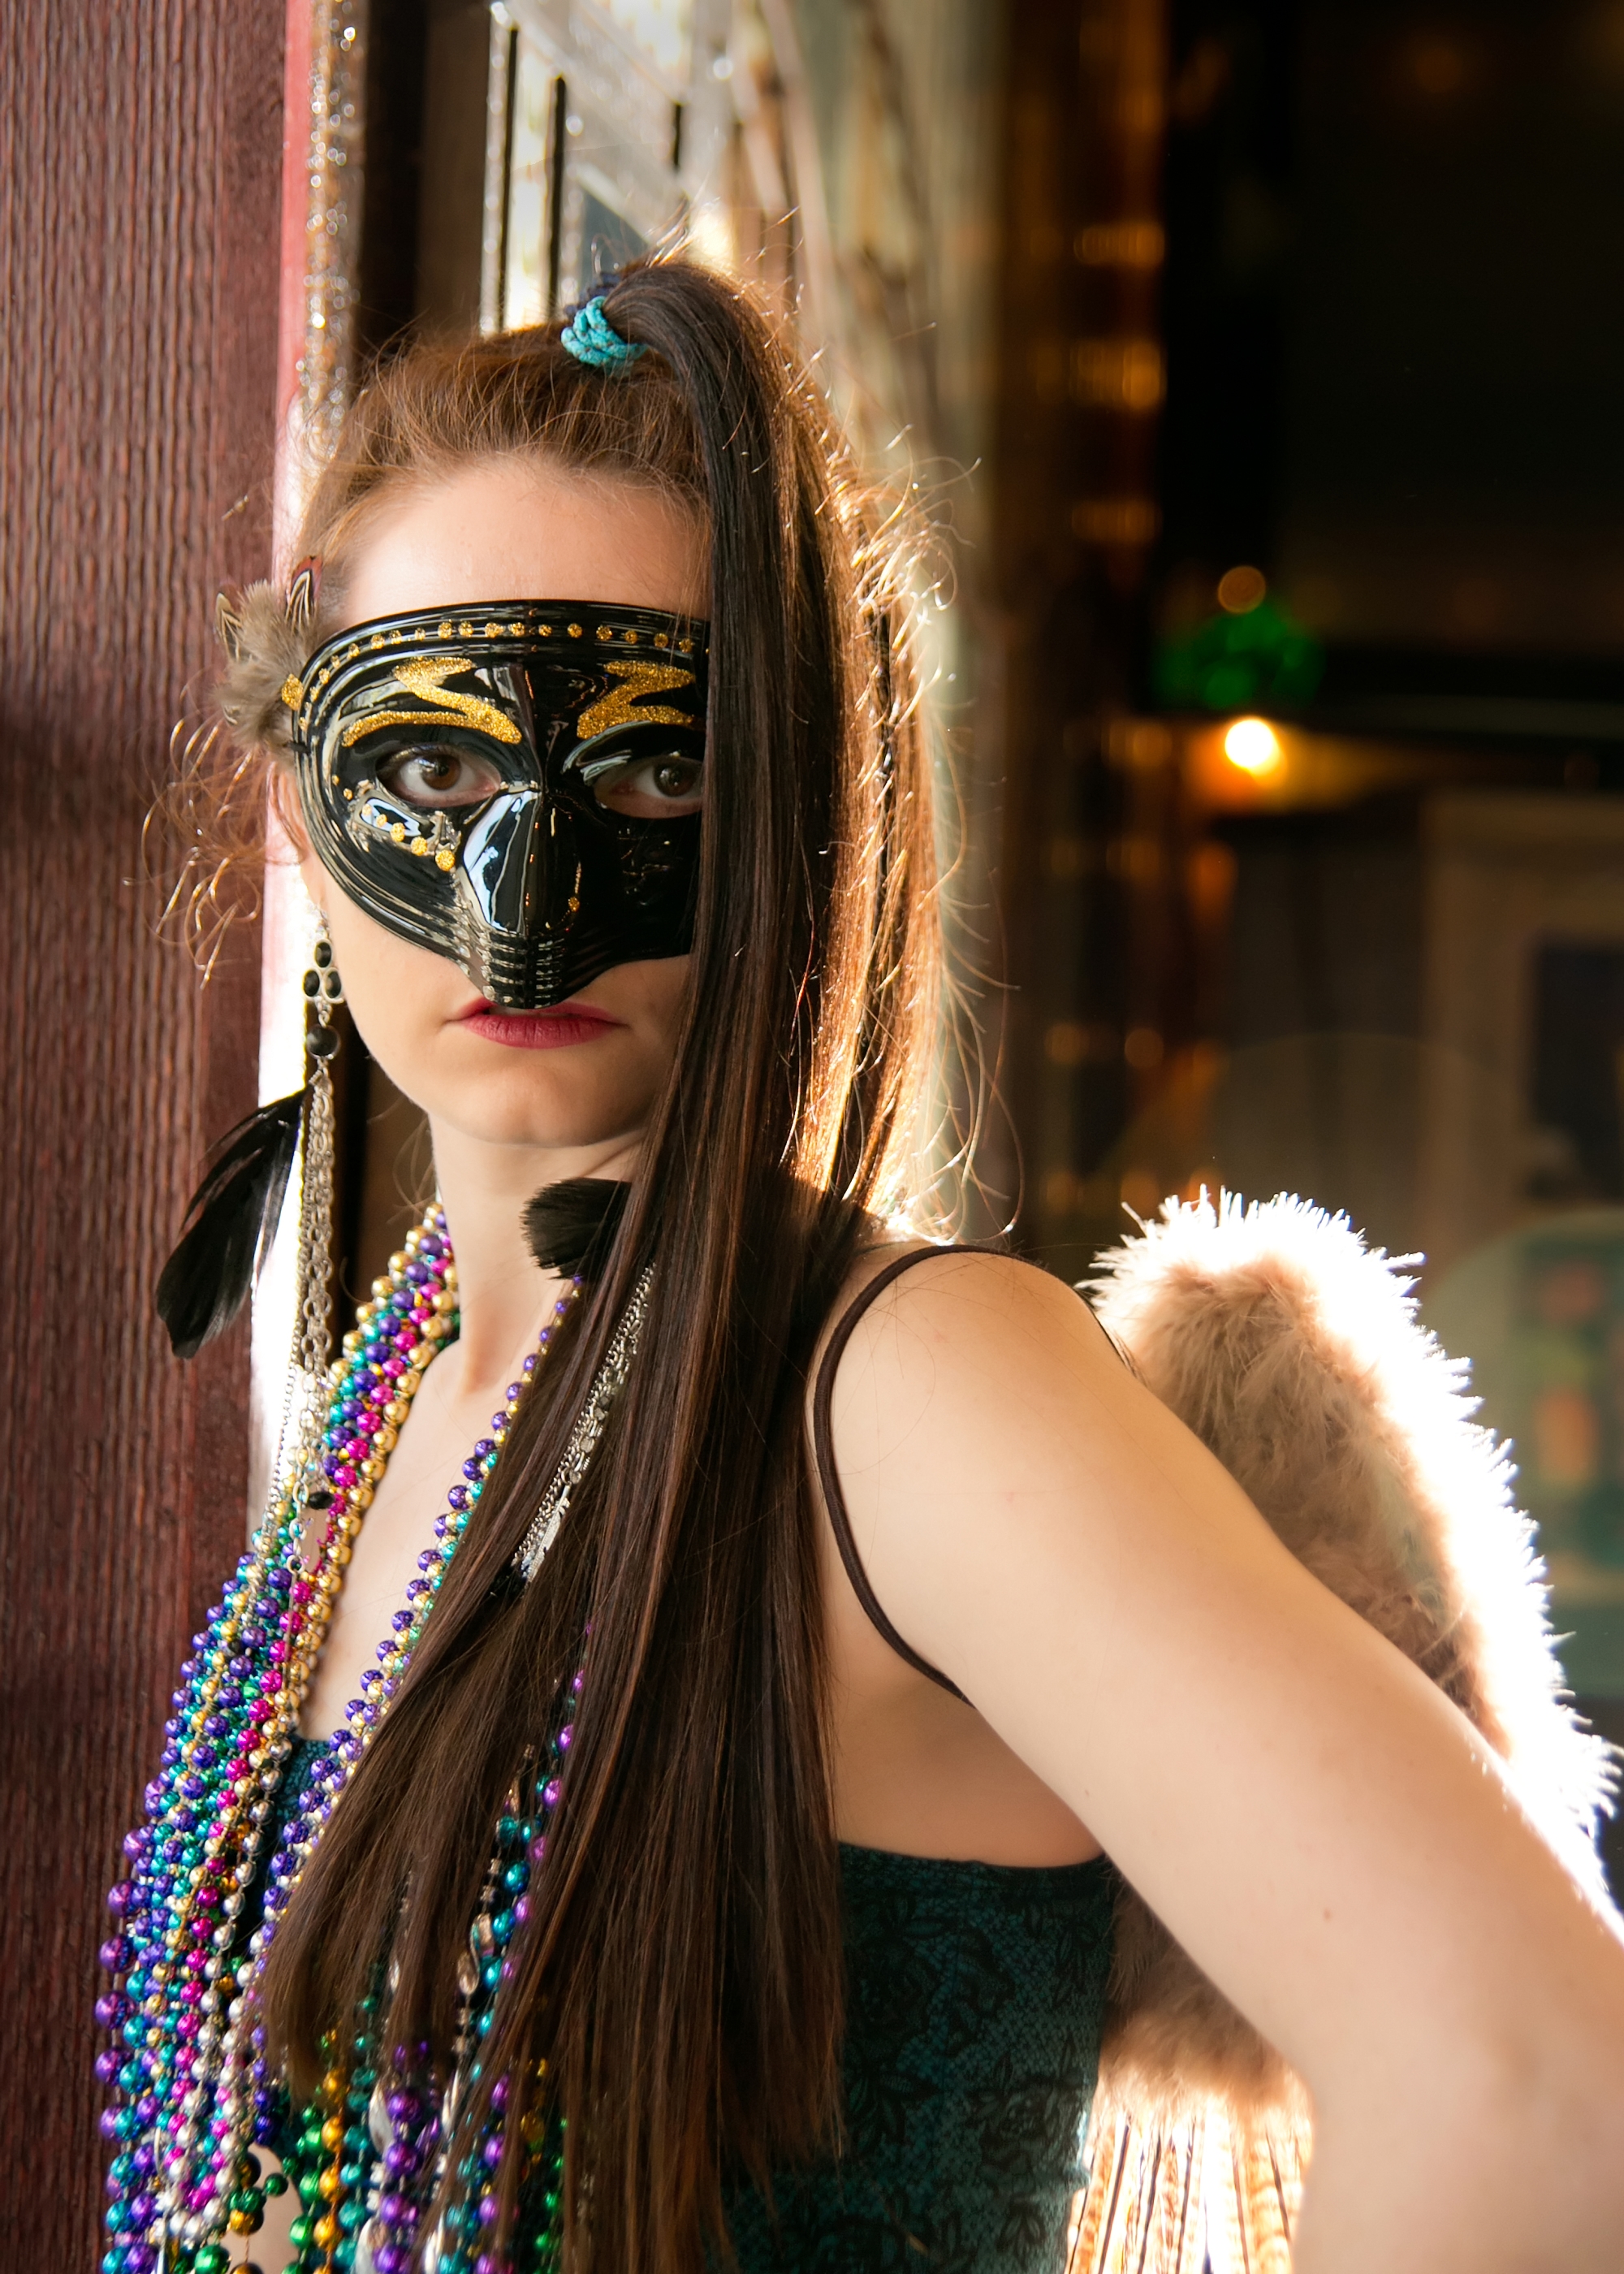
Wings are ridiculously fun to wear and a huge asset to any cosplayer’s closet, but they’re so expensive! The wings I was wearing during my recent encounter with a marauding car cost me almost 30 bucks. I’m so glad it only knocked one feather loose!
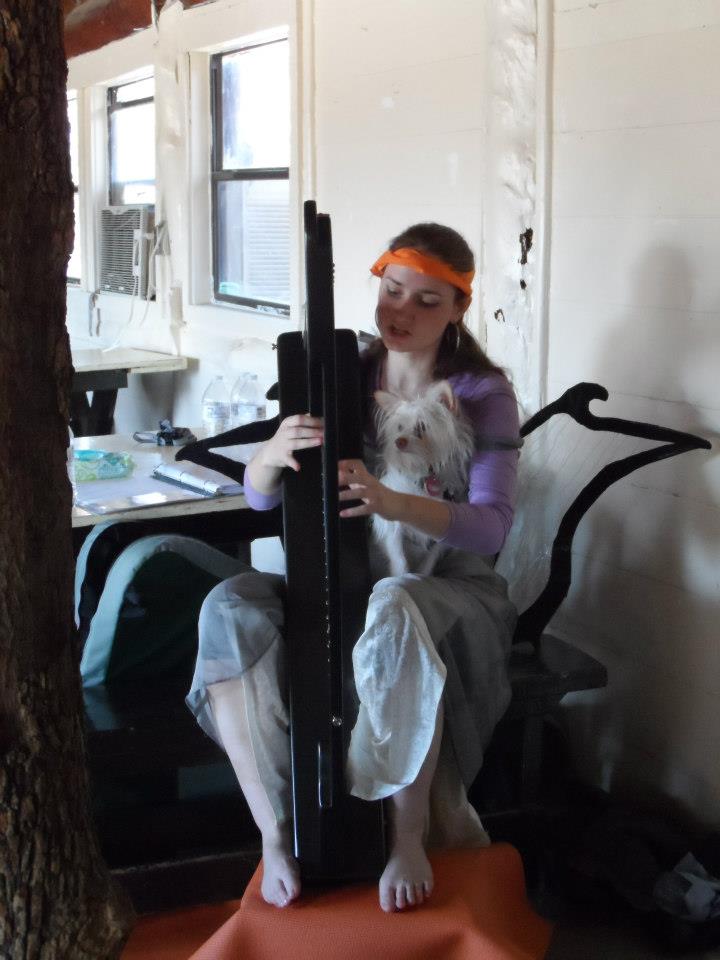
Winter harping with Gizmo, the celestial dog.
With the economy the way it is we’re all looking for ways to save a buck and a lot of us are turning to those handy DIY tutorials all over Pinterest and Youtube. We get so excited because we think we can finally save ourselves money (which we don’t have) by investing a little time (which we have plenty of). Unfortunately, sometimes things go sour. Sometimes that awesome looking tutorial lets us down. Here’s a review of one of those moments.
This is the first set of wings constructed for my Tavern Bard, Winter. Winter plays the harp during tavern on weekend events for Heroic North Texas and I thought it’d be really cool to construct wings that have a harpish look to them. Then, when I played, there’d be my harp in front of me with a harp echo behind me. It’d be visually stunning! It’d be so amazing. I was sold on the idea and scoured the internet for about 3 hours looking for just the right tutorial.
Of course, I found the pantyhose over wire hangar tutorials and a couple cloth tutorials (this one is admittedly quite awesome for a basic idea that I might tweak later), but they weren’t going to help with my harp idea. Then I was pleasantly surprised by http://www.instructables.com/id/How-to-make-Cellophane-Wings/. While the idea itself is sound, the application phase was quite lacking. This girl’s rep test had to have been at some tame party where everyone just stands around and admires each other.
Winter debuted in March of 2013 with her beautifully constructed wings. Time spent on them: close to 15 hours.
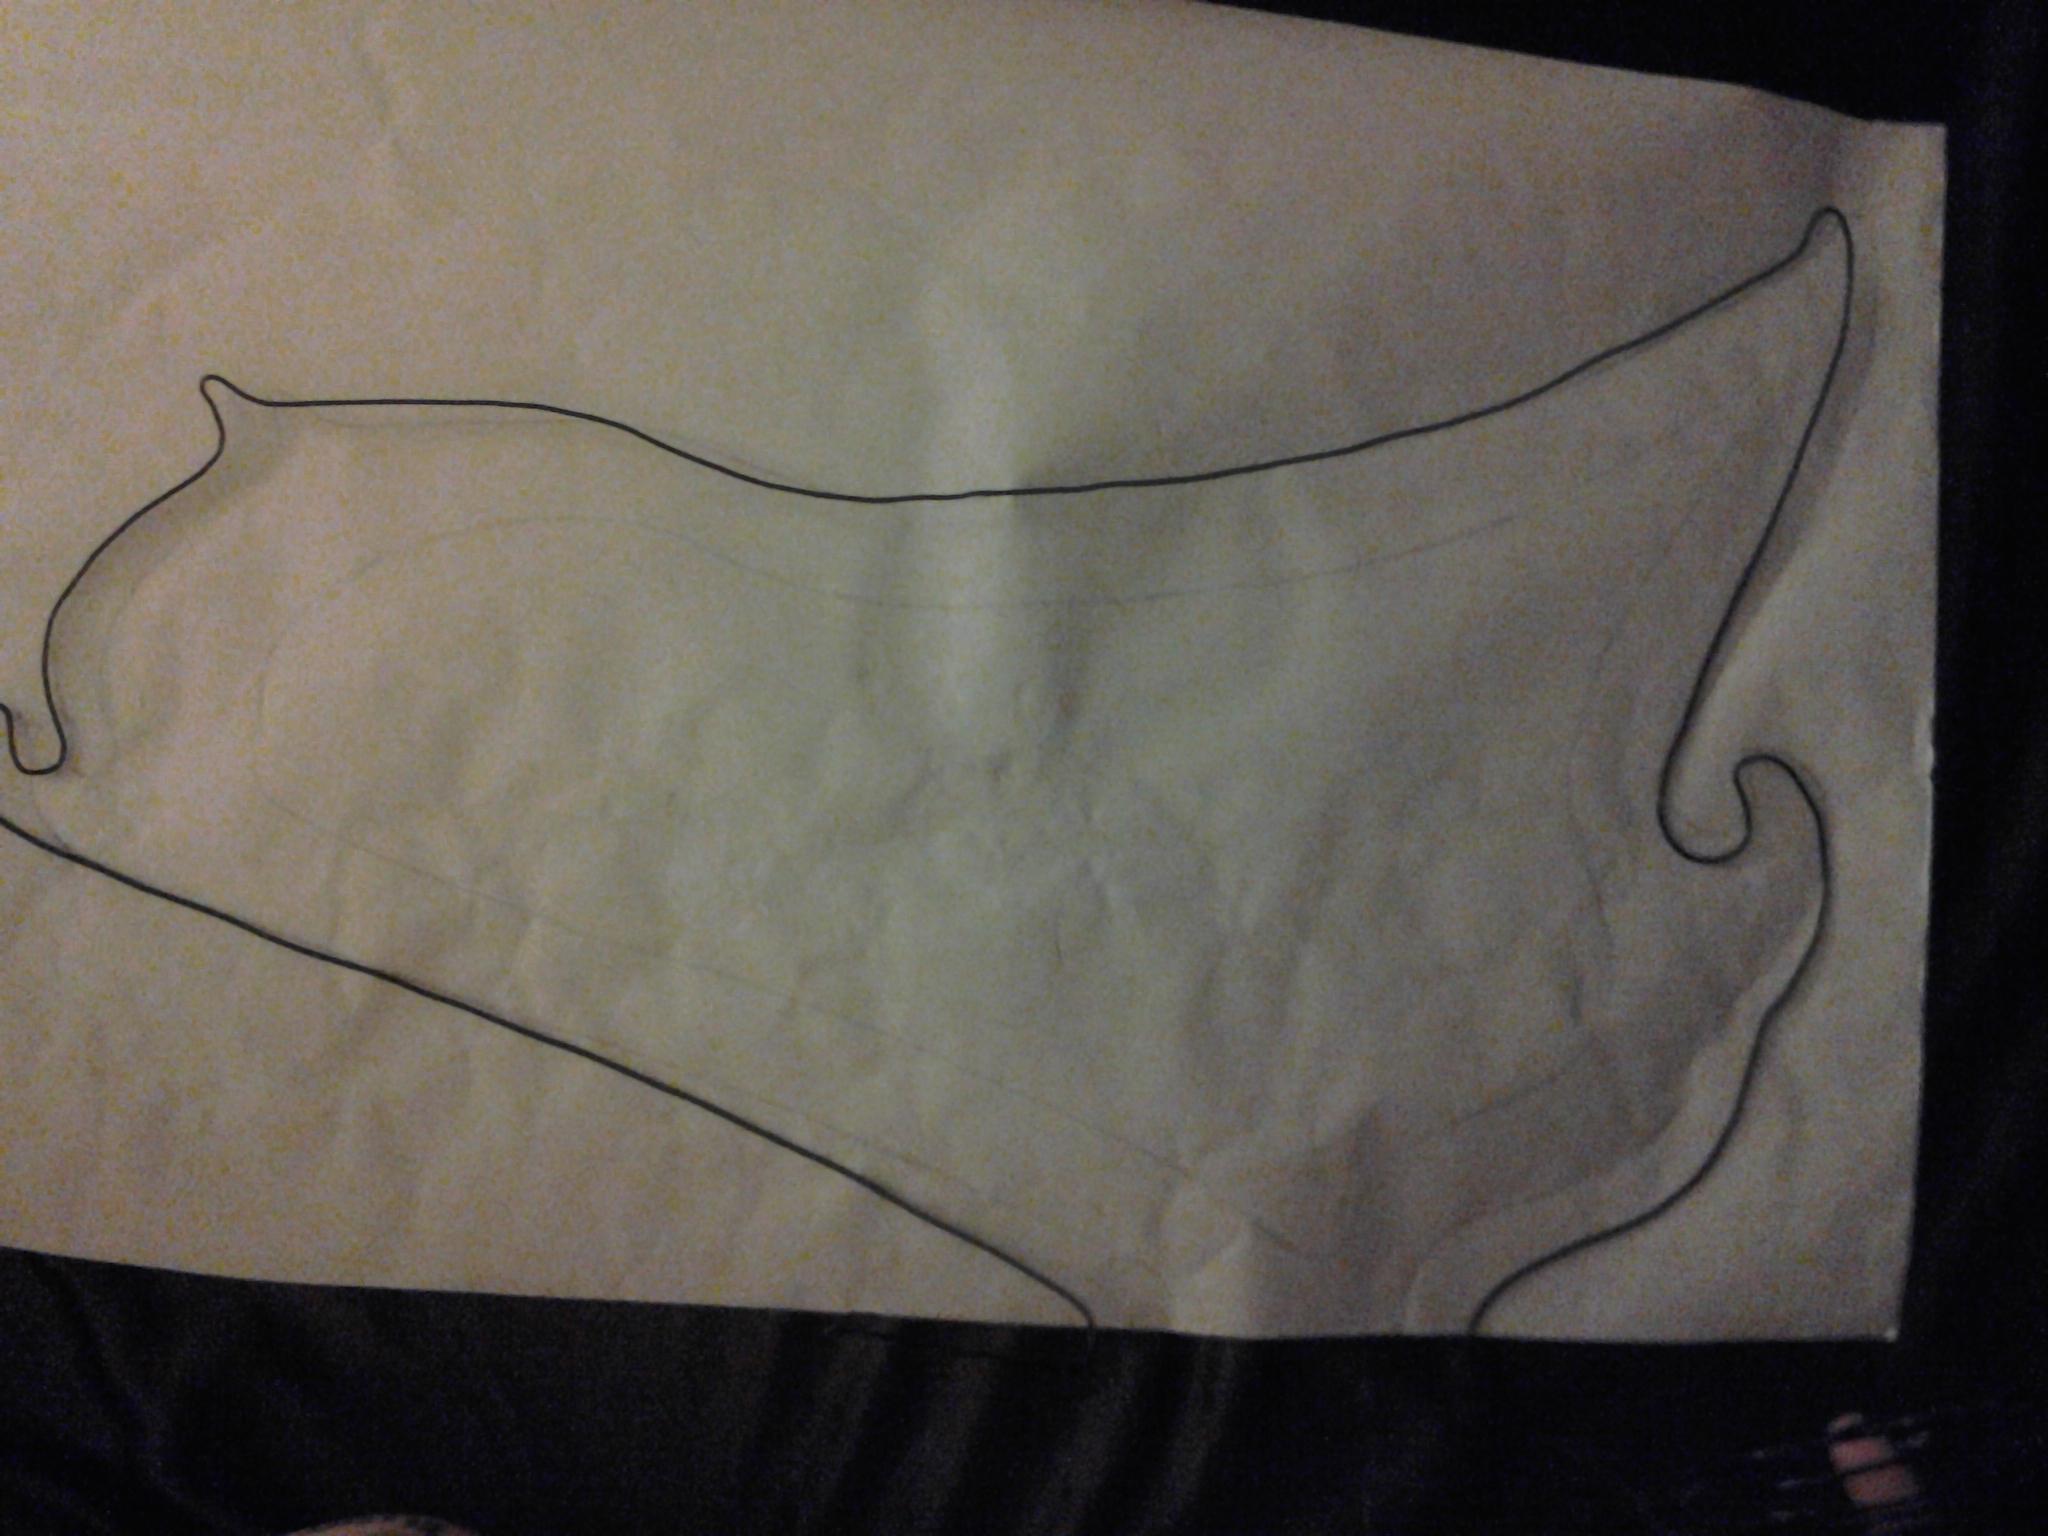
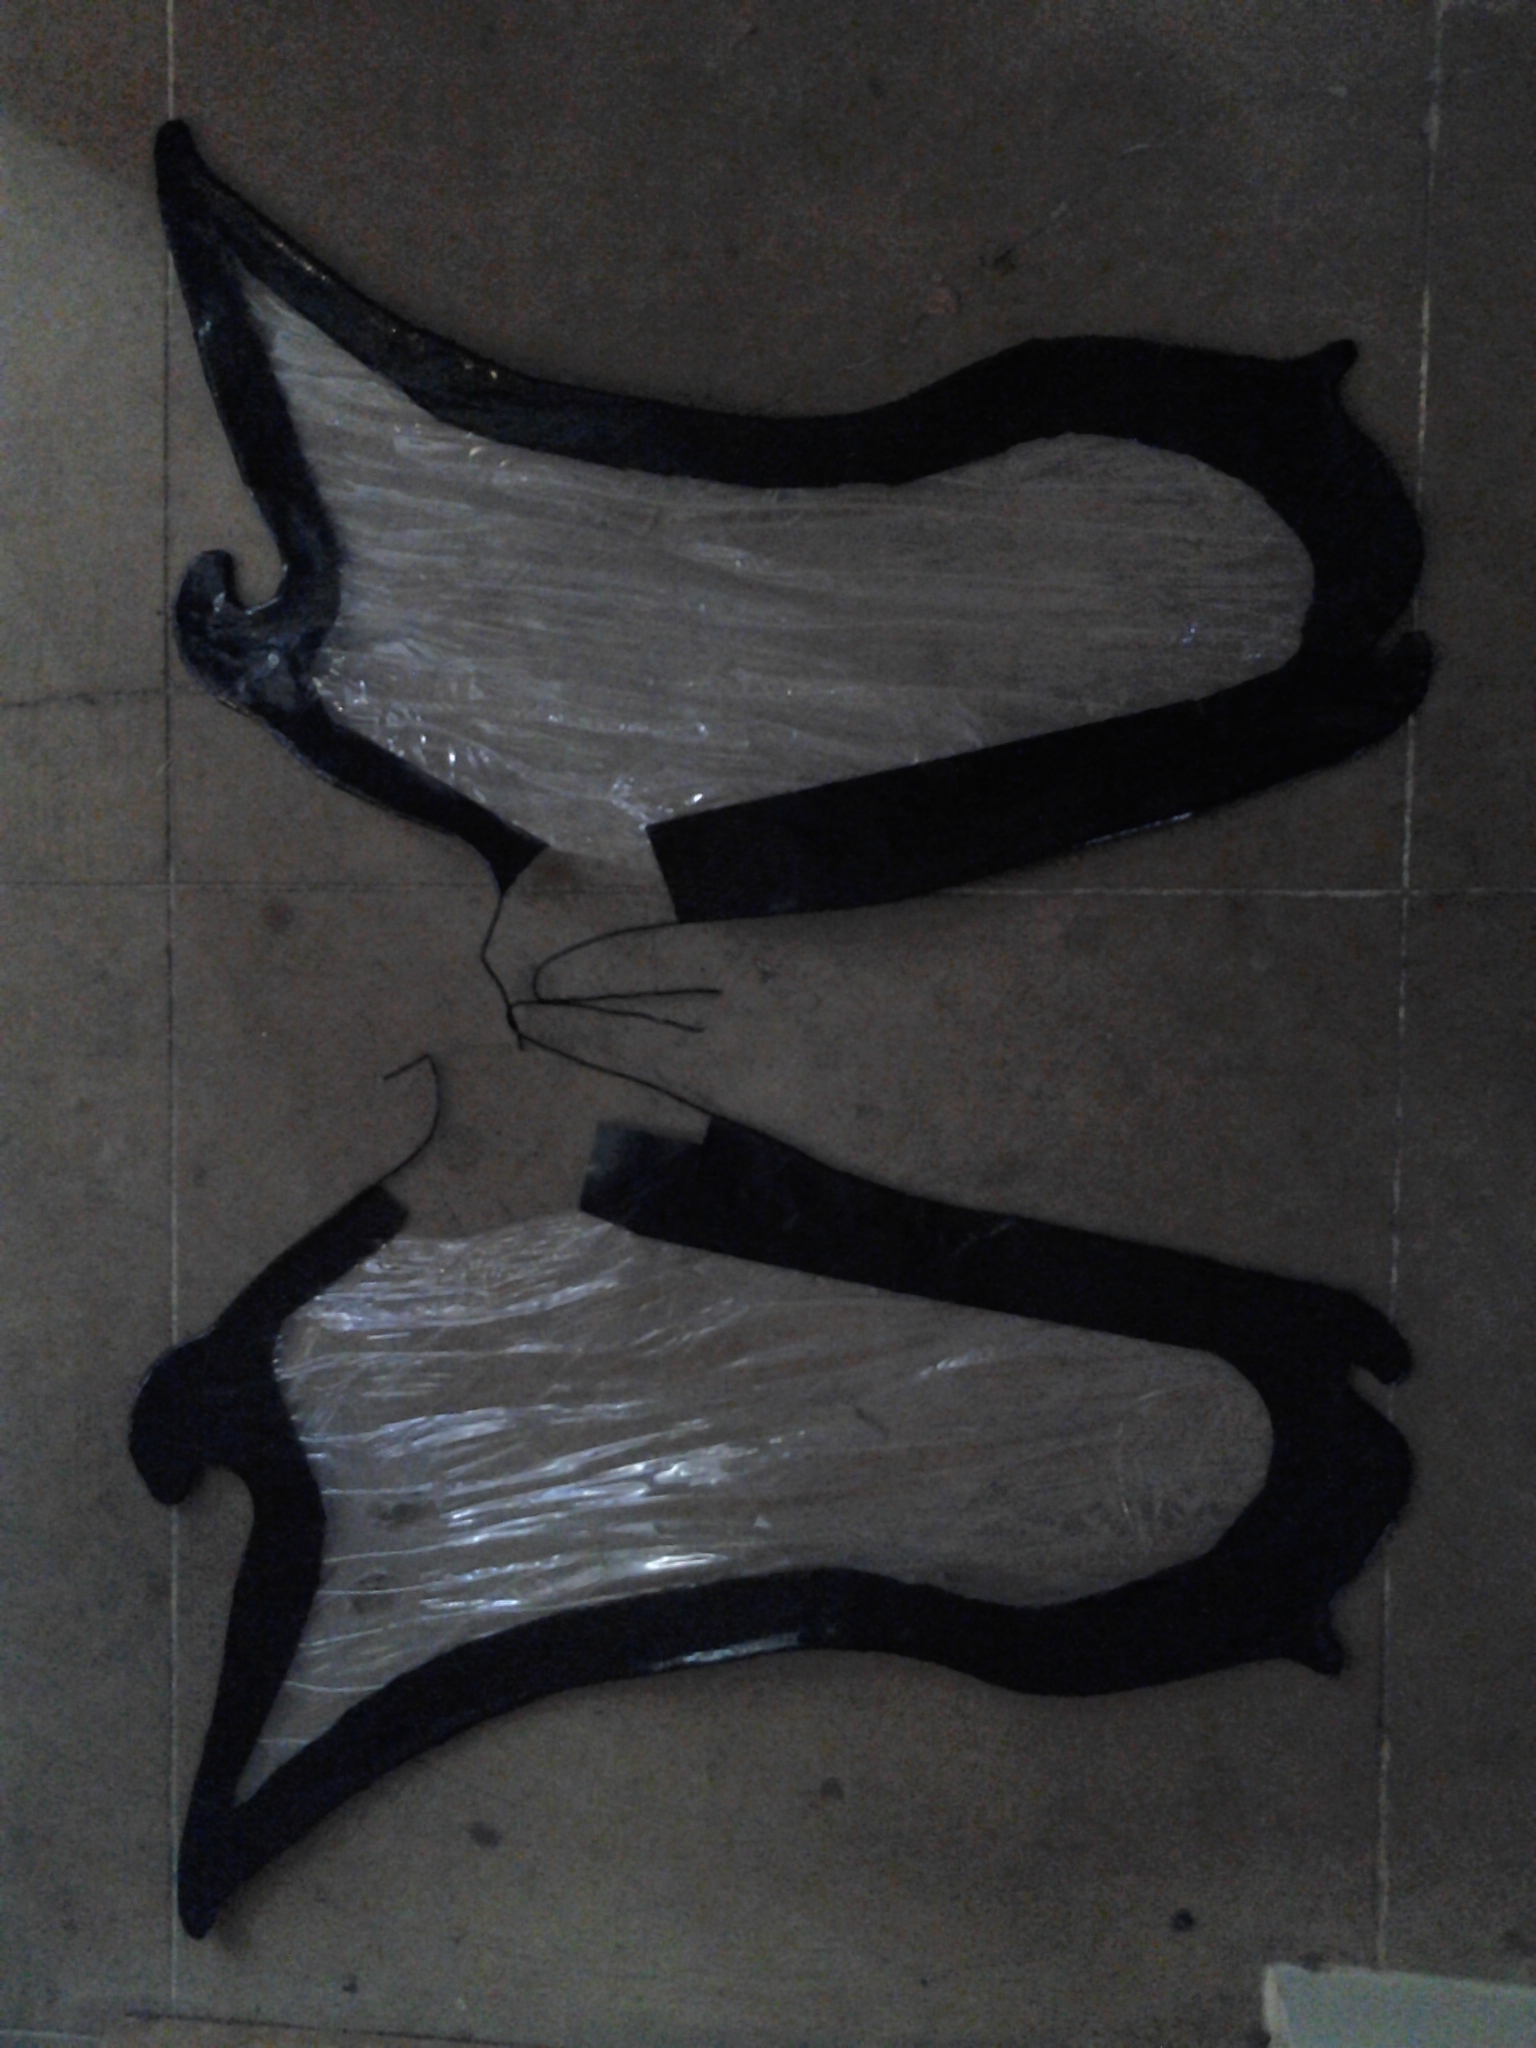
I followed the tutorial except that I did an all around design for my wire, fully outlining the wing shape.
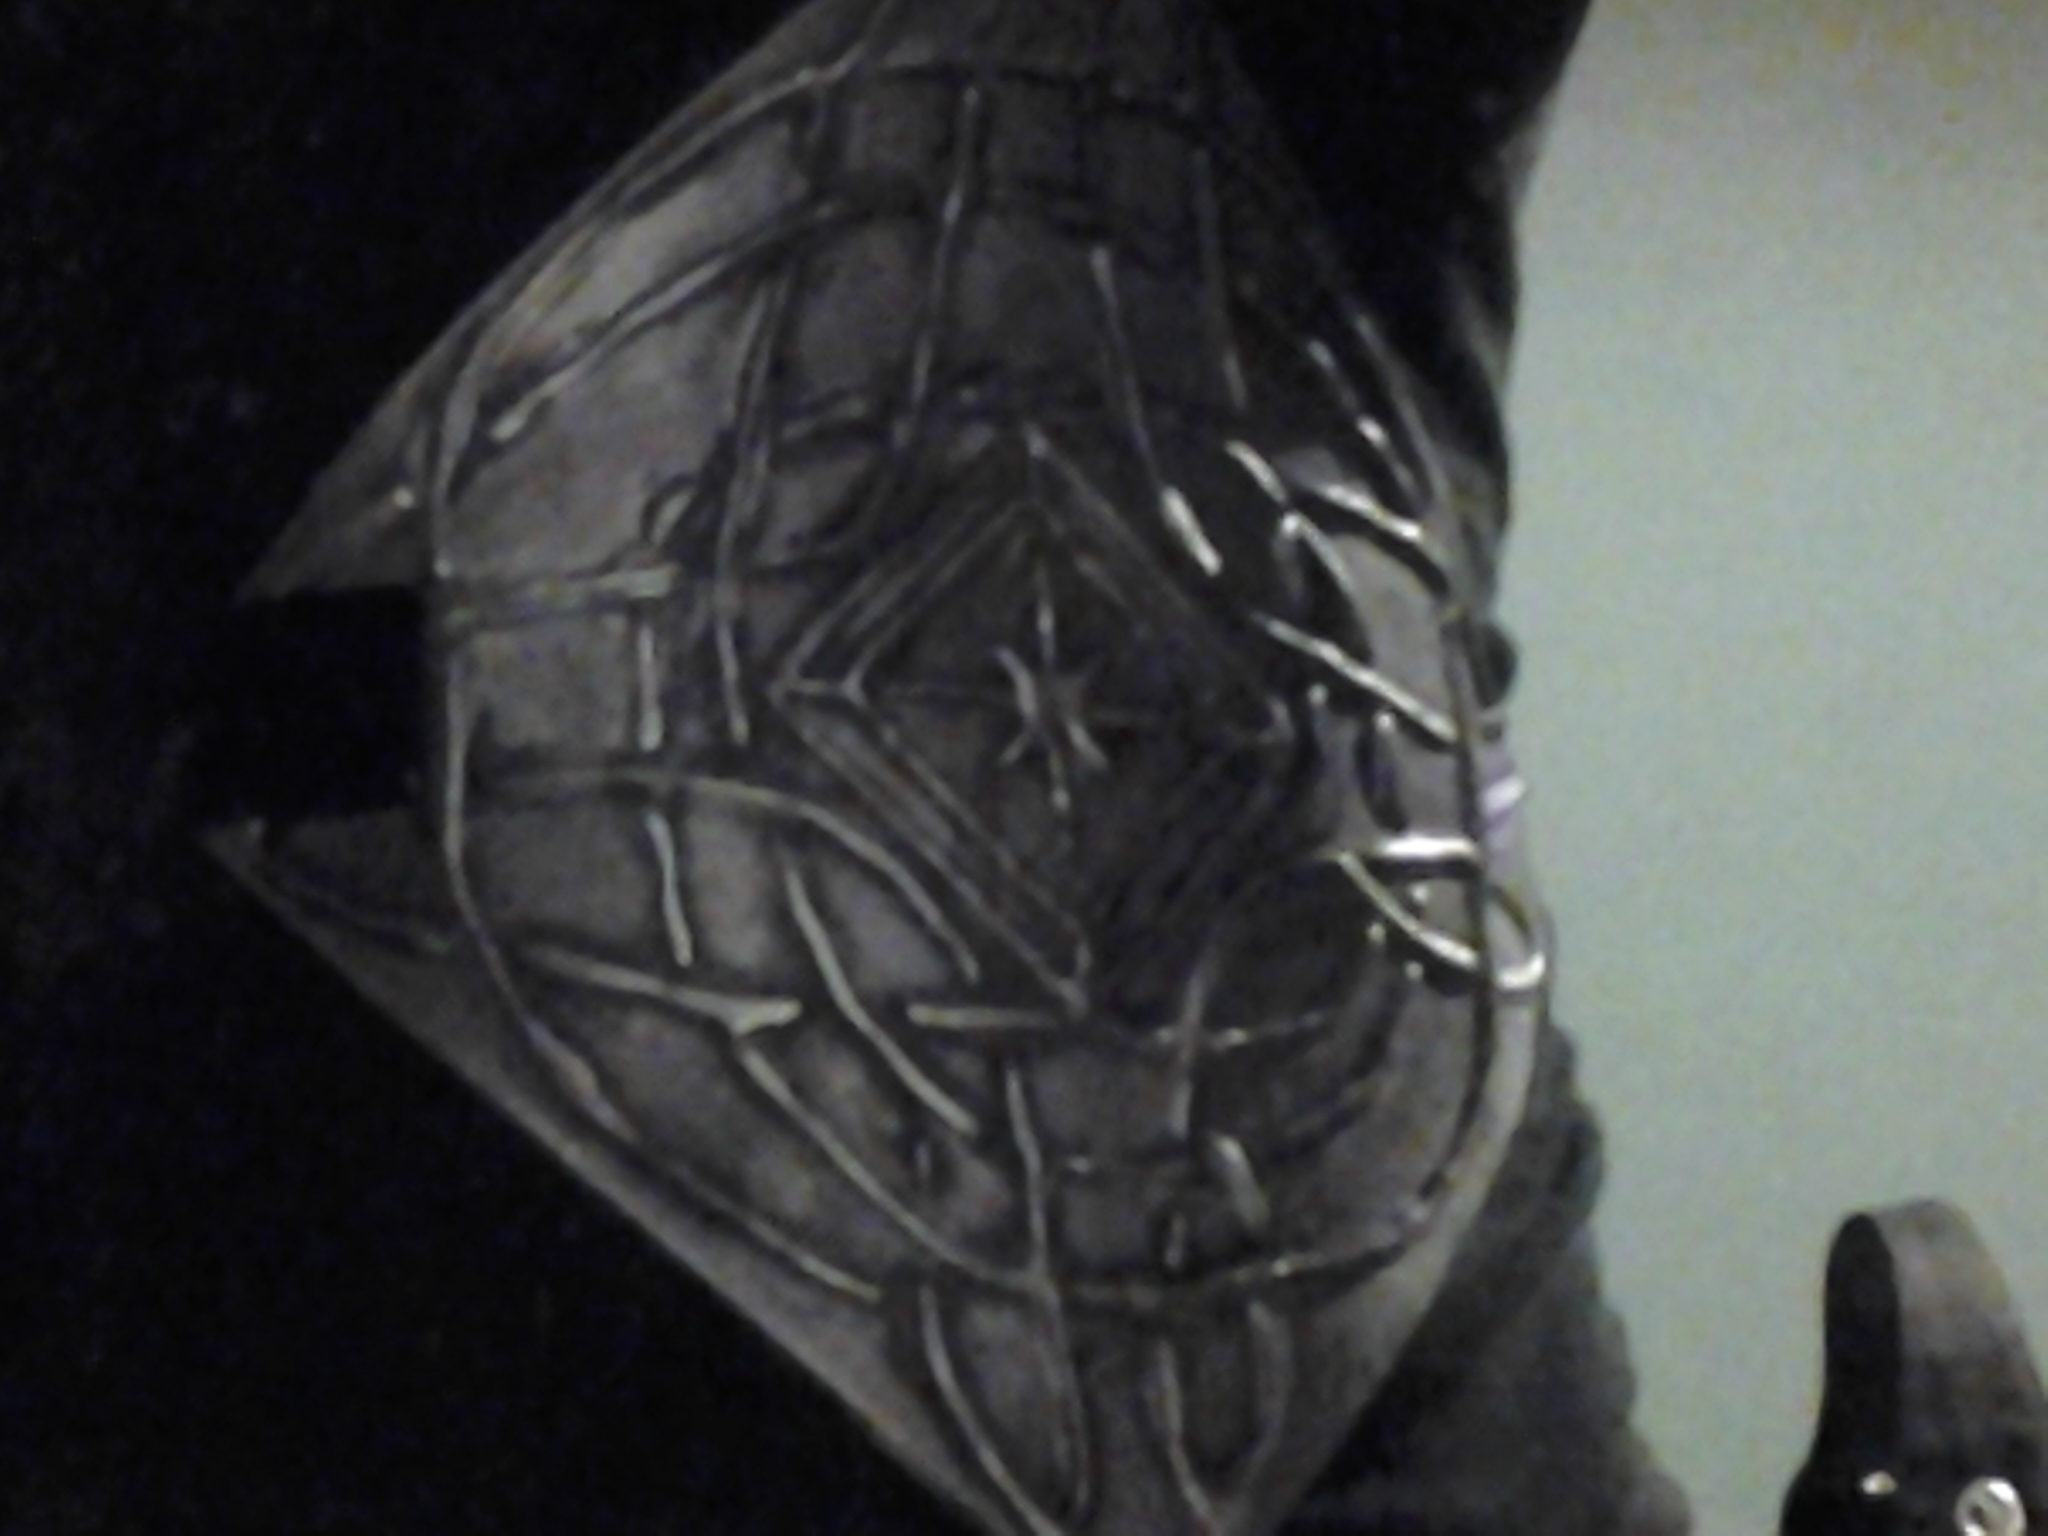
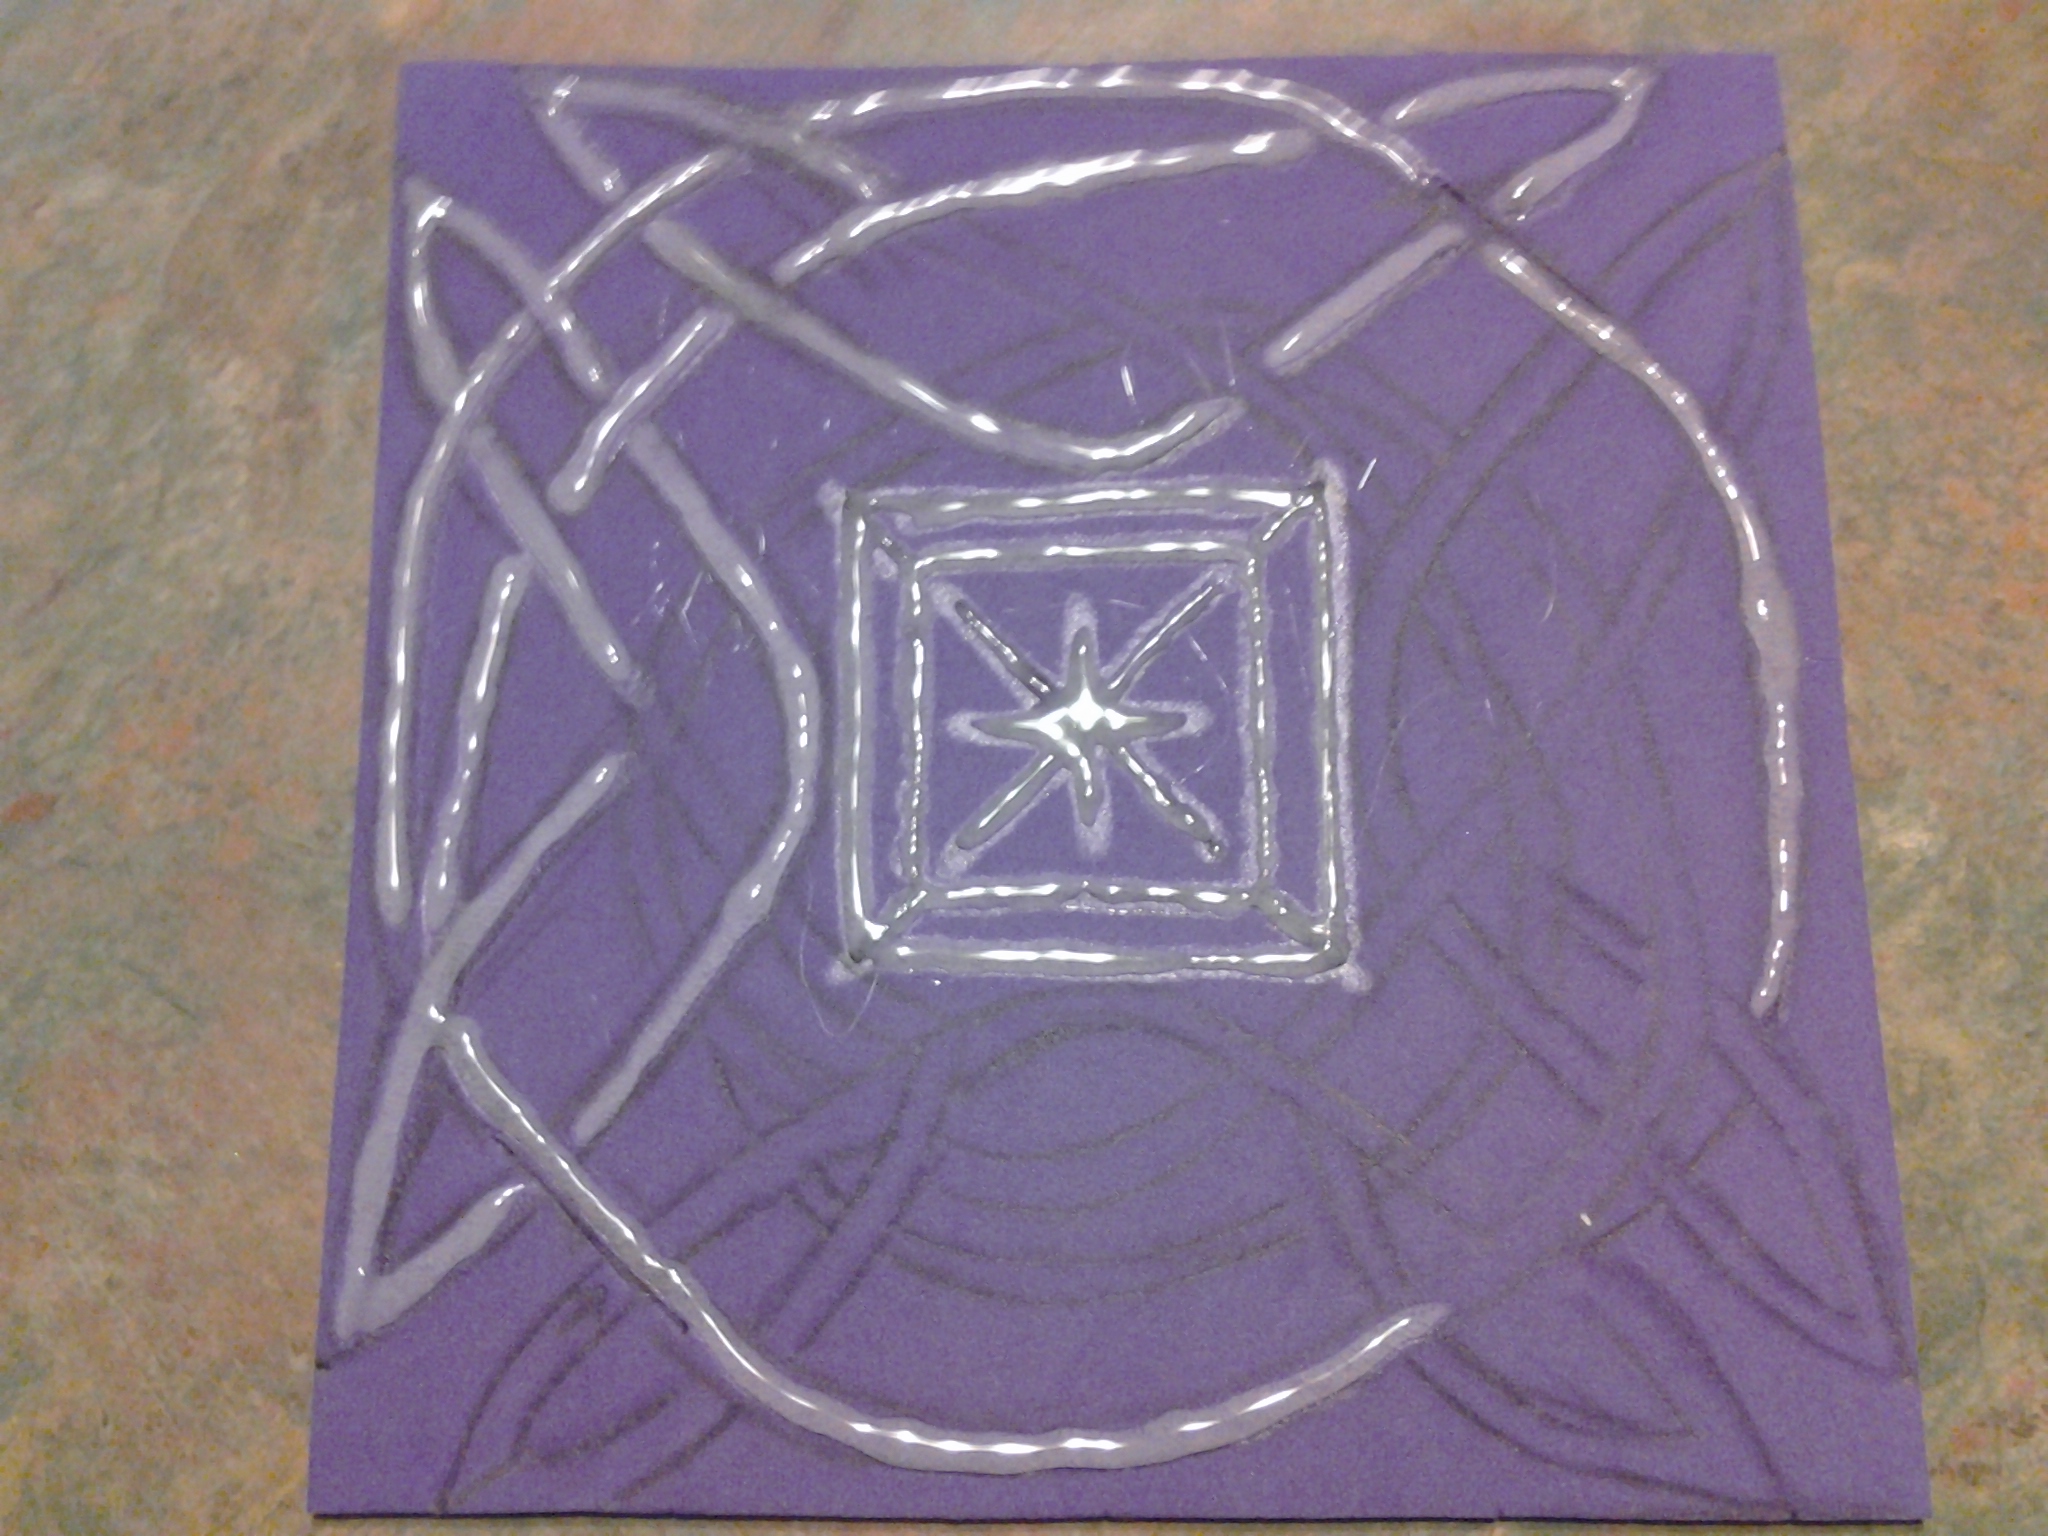
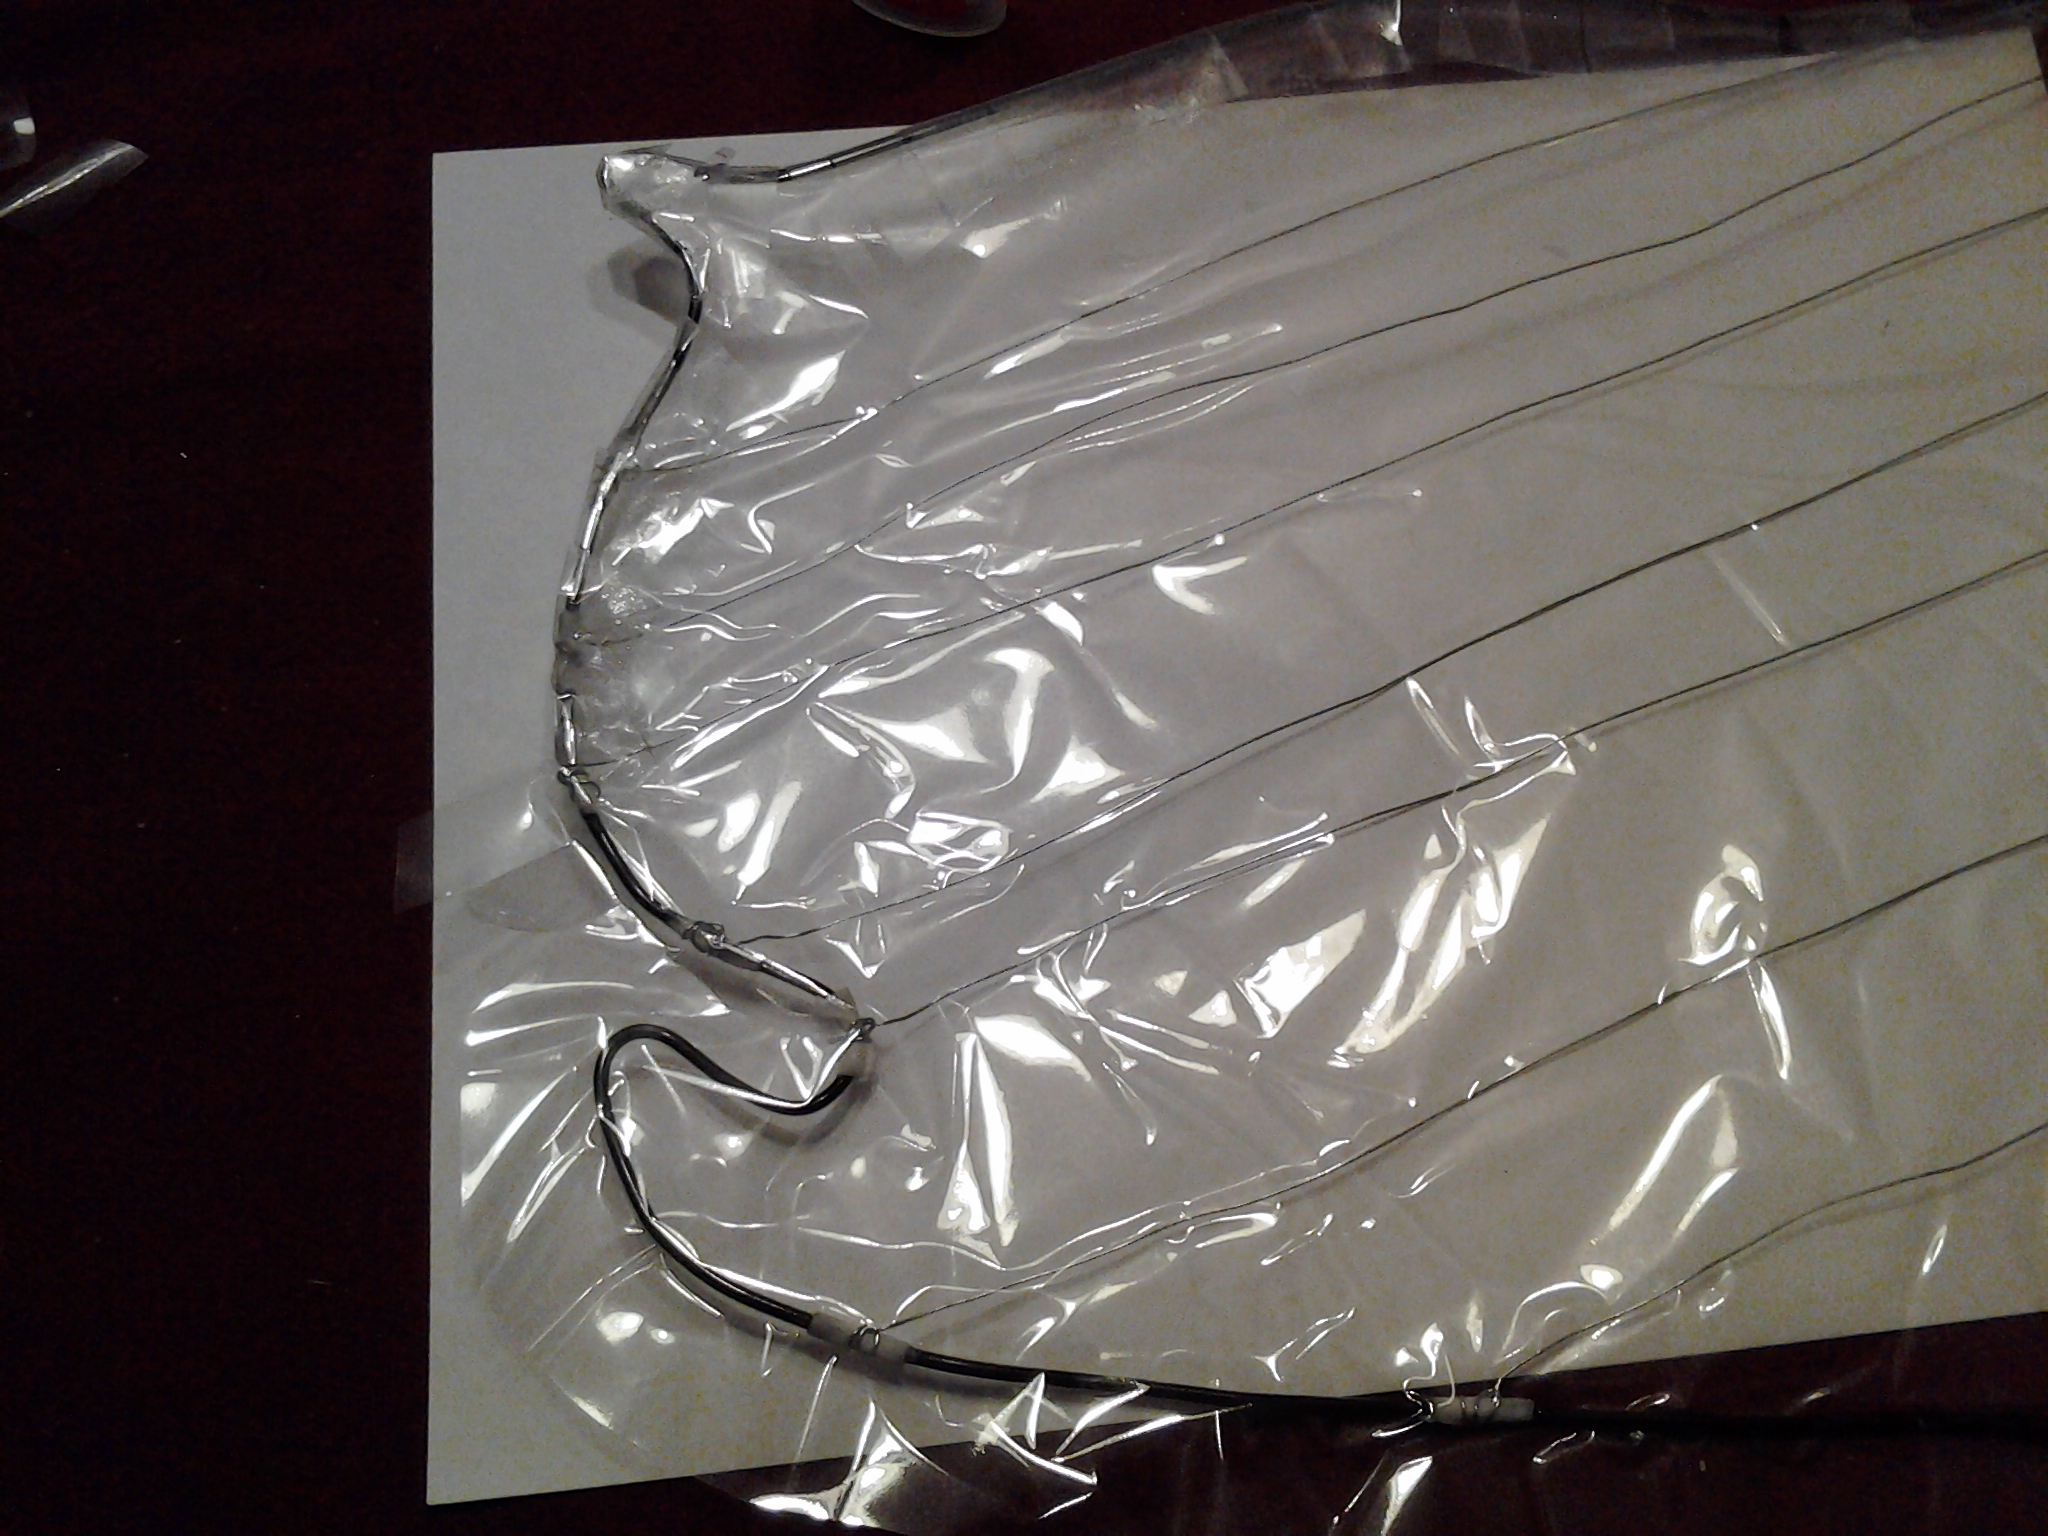
I then added tiny wires to represent the harp strings, using florist tape and liquid super glue to secure them firmly to their positions on the wire frame until I could do the covering and taping required by the game to keep my wires from poking out an eye. Wiring was extremely time consuming.
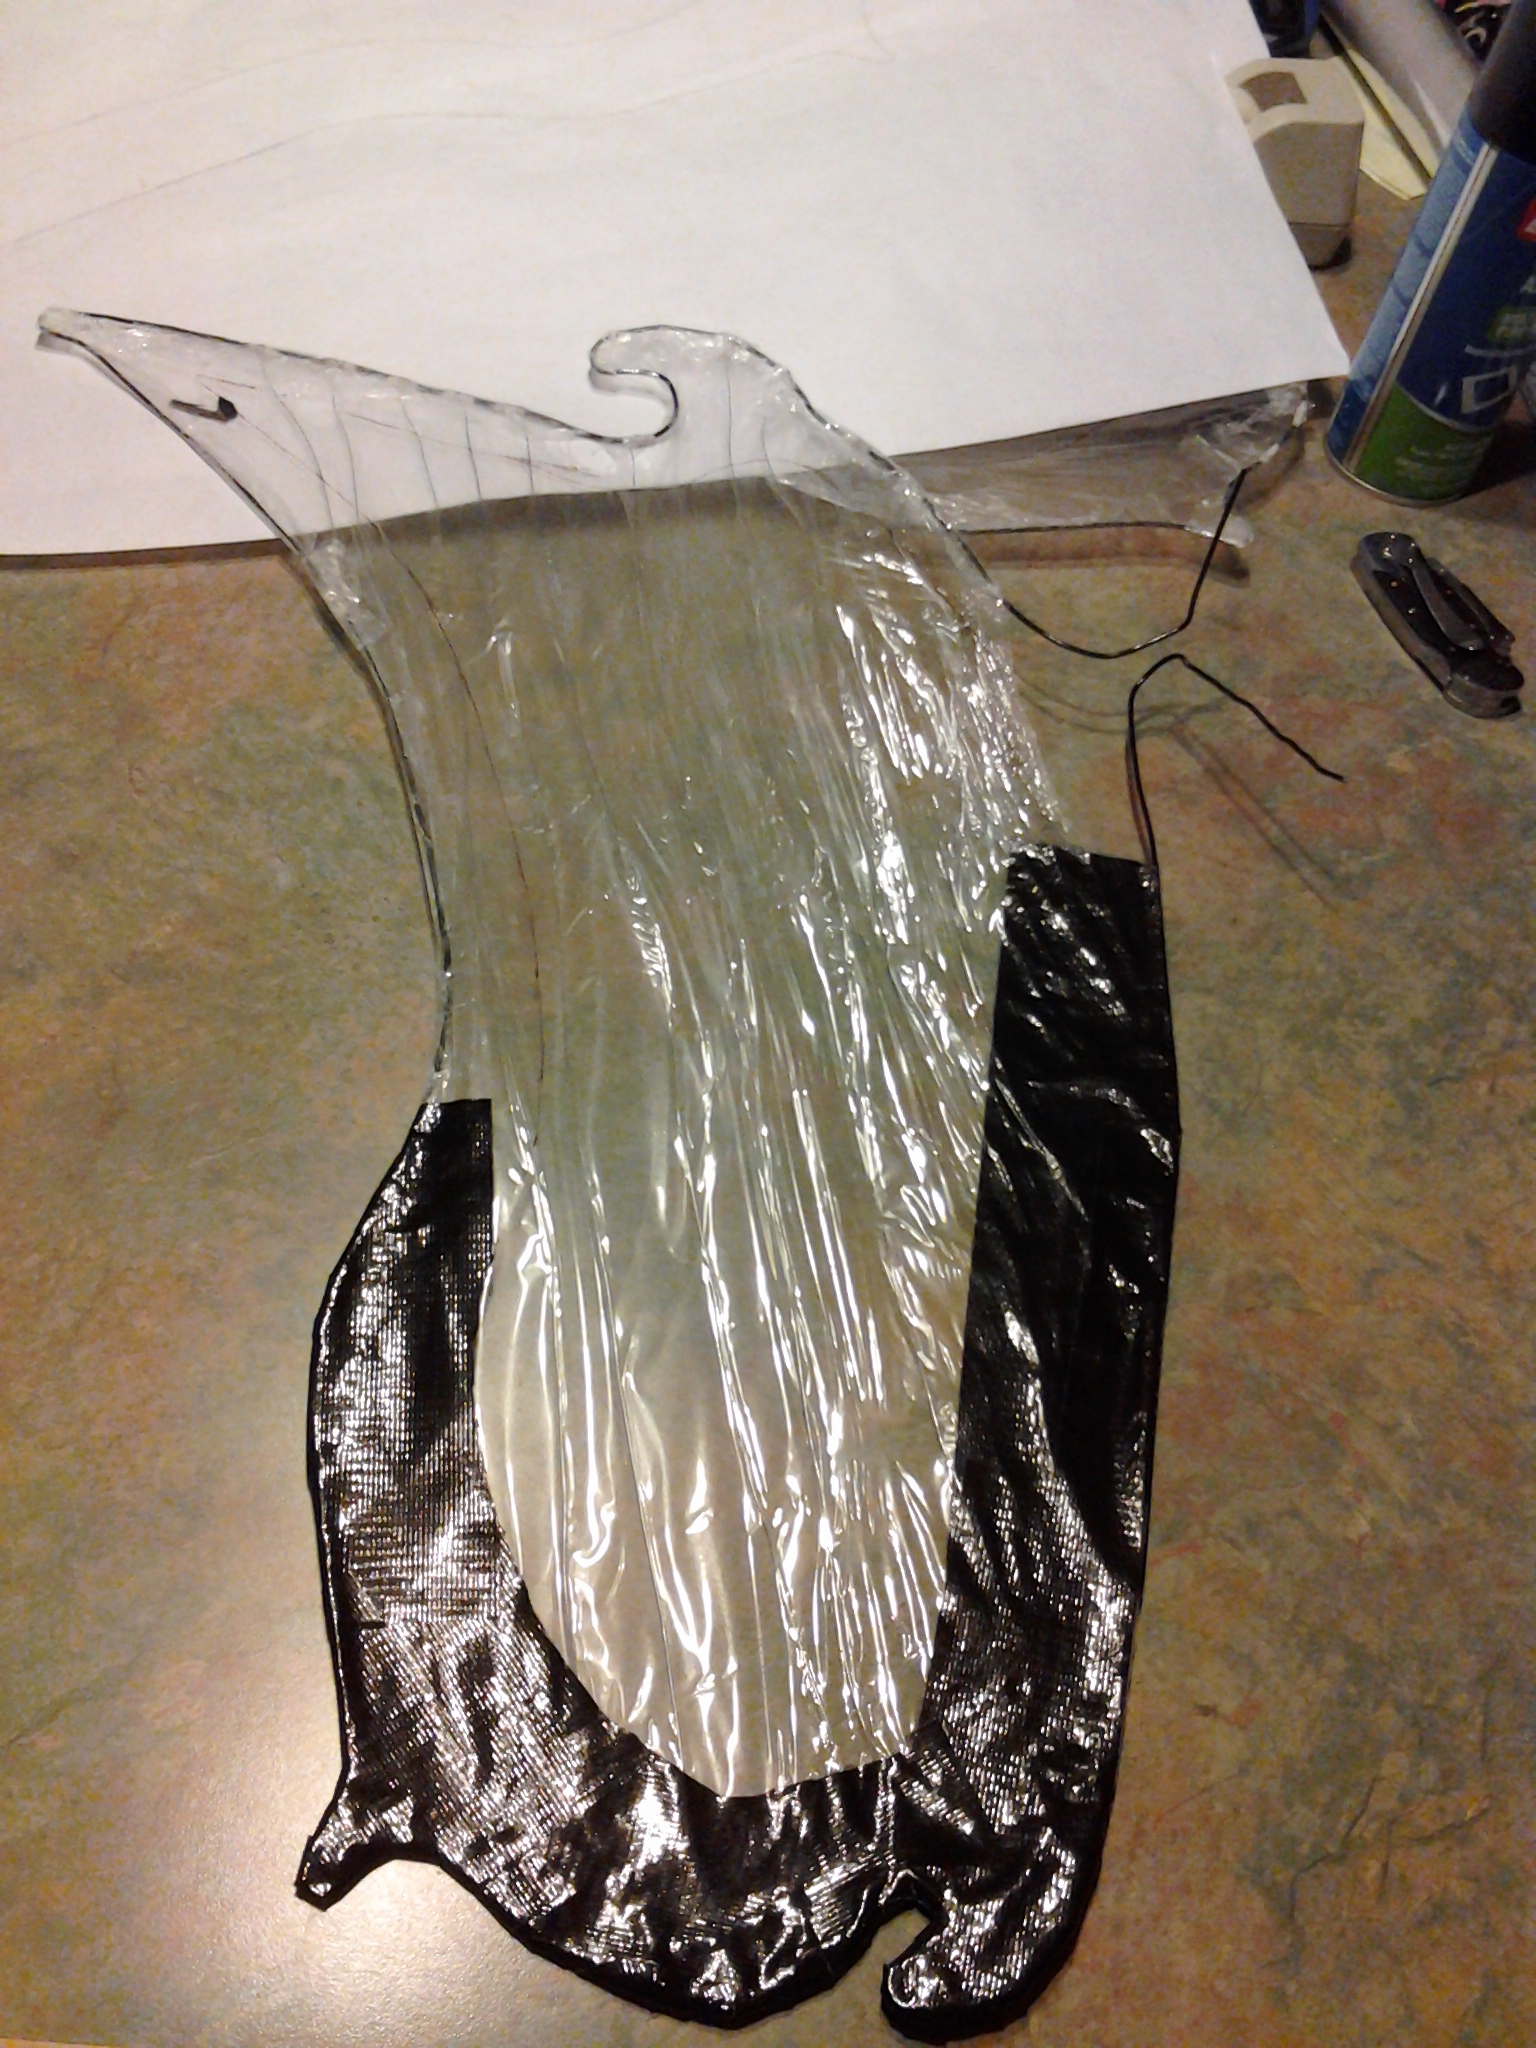
The next step is to add the cellophane. You know that spray glue she recommends? It doesn’t dry clear. I ended up with a frothy/filmy pattern all over the wings. It doesn’t matter so much on hers because they’re colored. Mine were supposed to be perfectly clear! The froth also obscured the wire harp string design I’d already worked so hard to do! I was disappointed, but I thought my design was still pretty stellar and I was running close to my deadline so I continued.
Cellophane is on. Now you can seal off the edges (I used my liquid super glue instead of hot glue because it’s faster and less dangerous at 3am) and shrink wrap the cellophane onto your frame.
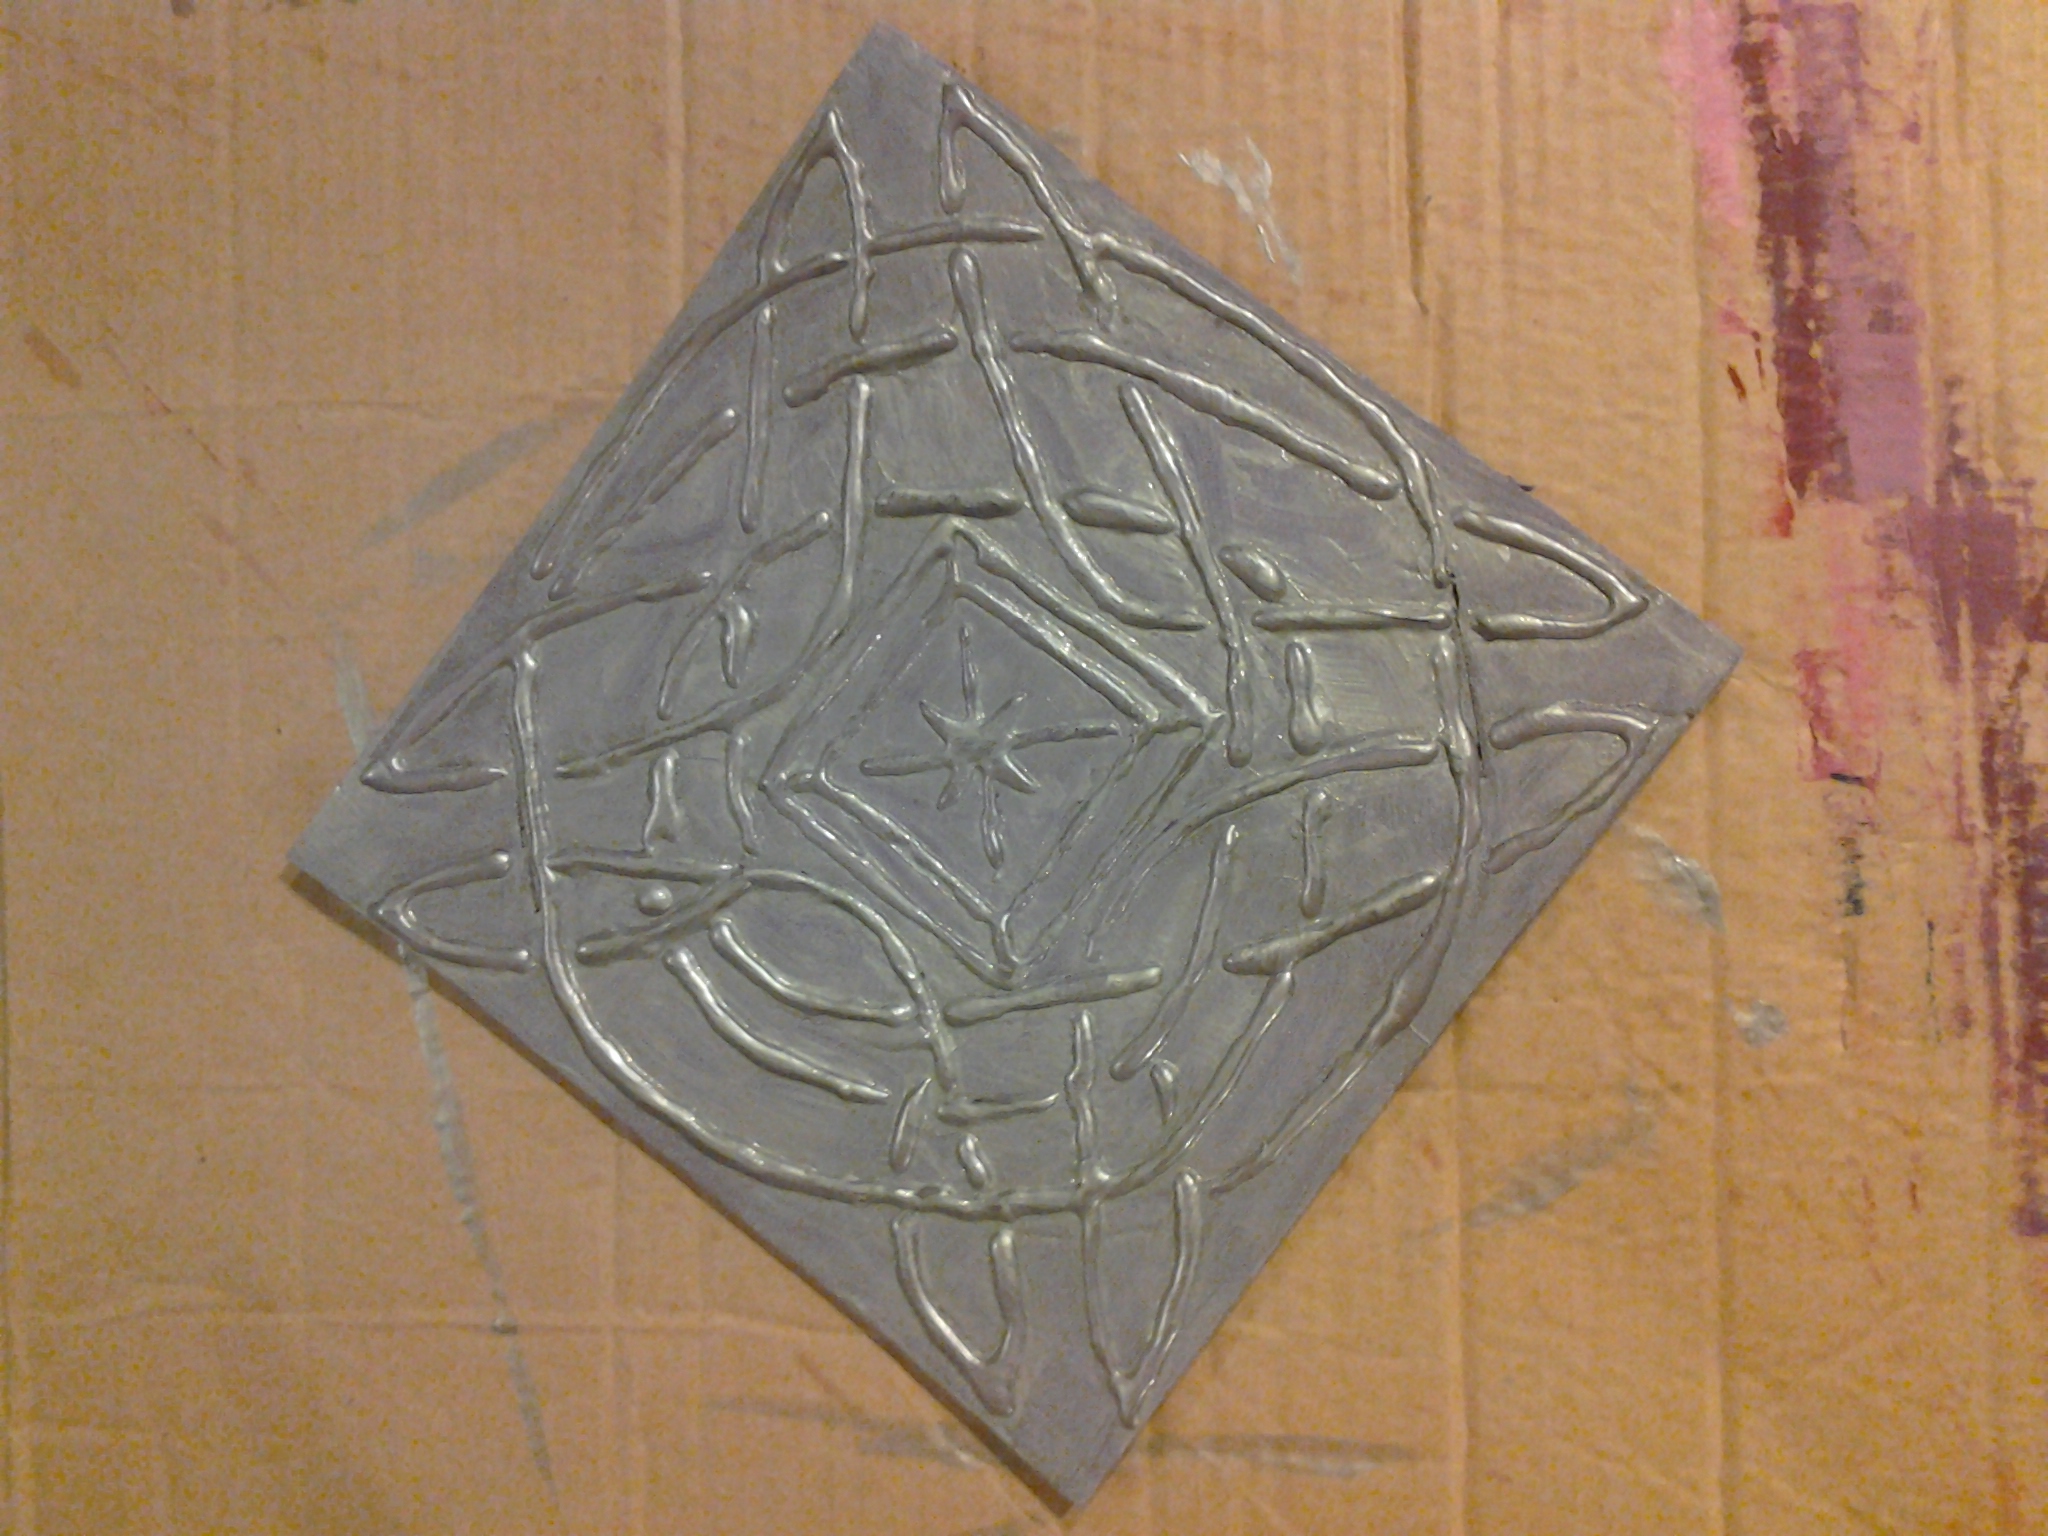
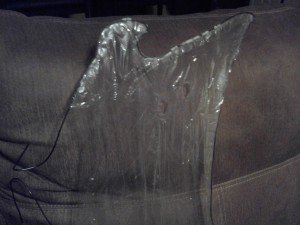
Cool! I managed to do the shrink wrapping without burning myself (which is impressive that late at night with a tool you’ve never used before that’s applying serious heat to a meltable substance), and I only got distracted enough to burn a couple holes straight through. Winter is a battlemage anyway, so the holes just add authenticity, right?

Then you’re supposed to refine your shape. Here’s where I got ingenious. I build boffer weapons with my husband so I’ve got a pretty good grasp on artistic taping. My black frame outline, inspired by actual butterfly wing patterns, is done completely in duck tape.
If you’ve never tried to tape a curve with duck tape before, you can’t really understand why, but it took 4 hours to tape the wings. After I was on site and wearing them, I realized I’d actually missed a couple of spots after all that, but they were too small to be noticed. I finished them the morning I had to leave for my weekend event. And boy was I tired.
The wing harness was my own design because the way people usually wear wings is either a great way to cut off your circulation to your arms or it’s never going to stay put in a stiff breeze, let alone a battle. Thankfully, that weekend I was non-combatant so no one was allowed to swing a sword at me, or the whole thing could have been a total disaster. I got the wings secured into my harness, which is specially designed to keep the wings at a nice 45 degree angle from my back and STAY THERE, and proudly stepped out of my cabin to meet the first wind test. The wings immediately buckled. A friend assisted me in getting them straightened out again and I proceeded to the tavern. On the way they buckled again and slid out of the harness on the bottom. *sigh* I spent the rest of the weekend asking people to assist me in getting the wings straightened out and stuffed back into the harness. I have decided these were the phys reps from HELL.
Here’s where I think it all went wrong.
1. She says she usually uses 12 gauge wire for her wings. I think she’s crazy. After the breeze, which wasn’t very strong, and getting bumped into at tavern the 12 gauge wire was all kinds of kinked and messed up. I got it home and reinforced it with coat hanger wire. Even then, the 12 gauge wasn’t doing it’s job and they’re a kinked up mess again. All that work and they’re really not salvageable.
2. Spray adhesive doesn’t dry clear. That’s really good to know. I think next time I’ll drop in some iridescent glitter or maybe just use colored cellophane to offset this problem. maybe I won’t try to stick them together at all, just bond them to the wires with the glue and shrink.
3. Practice with a heat gun is invaluable. It only takes a blink of distraction, literally, to add a hole to your design. And my mother used to shrink wrap professionally, so it’s not like I’m clueless here on how it’s done. I used to stand and watch her, so I know how to tell the plastic is heated enough and it’s about to shrink and when it’s about to tear.
4. The black taping was beautiful, but time consuming and it’s already peeling after 3 wears. Maybe sticking closer to her design in this matter would be better, but I’m concerned still about the safety of having those wires just hanging out there in a battle.
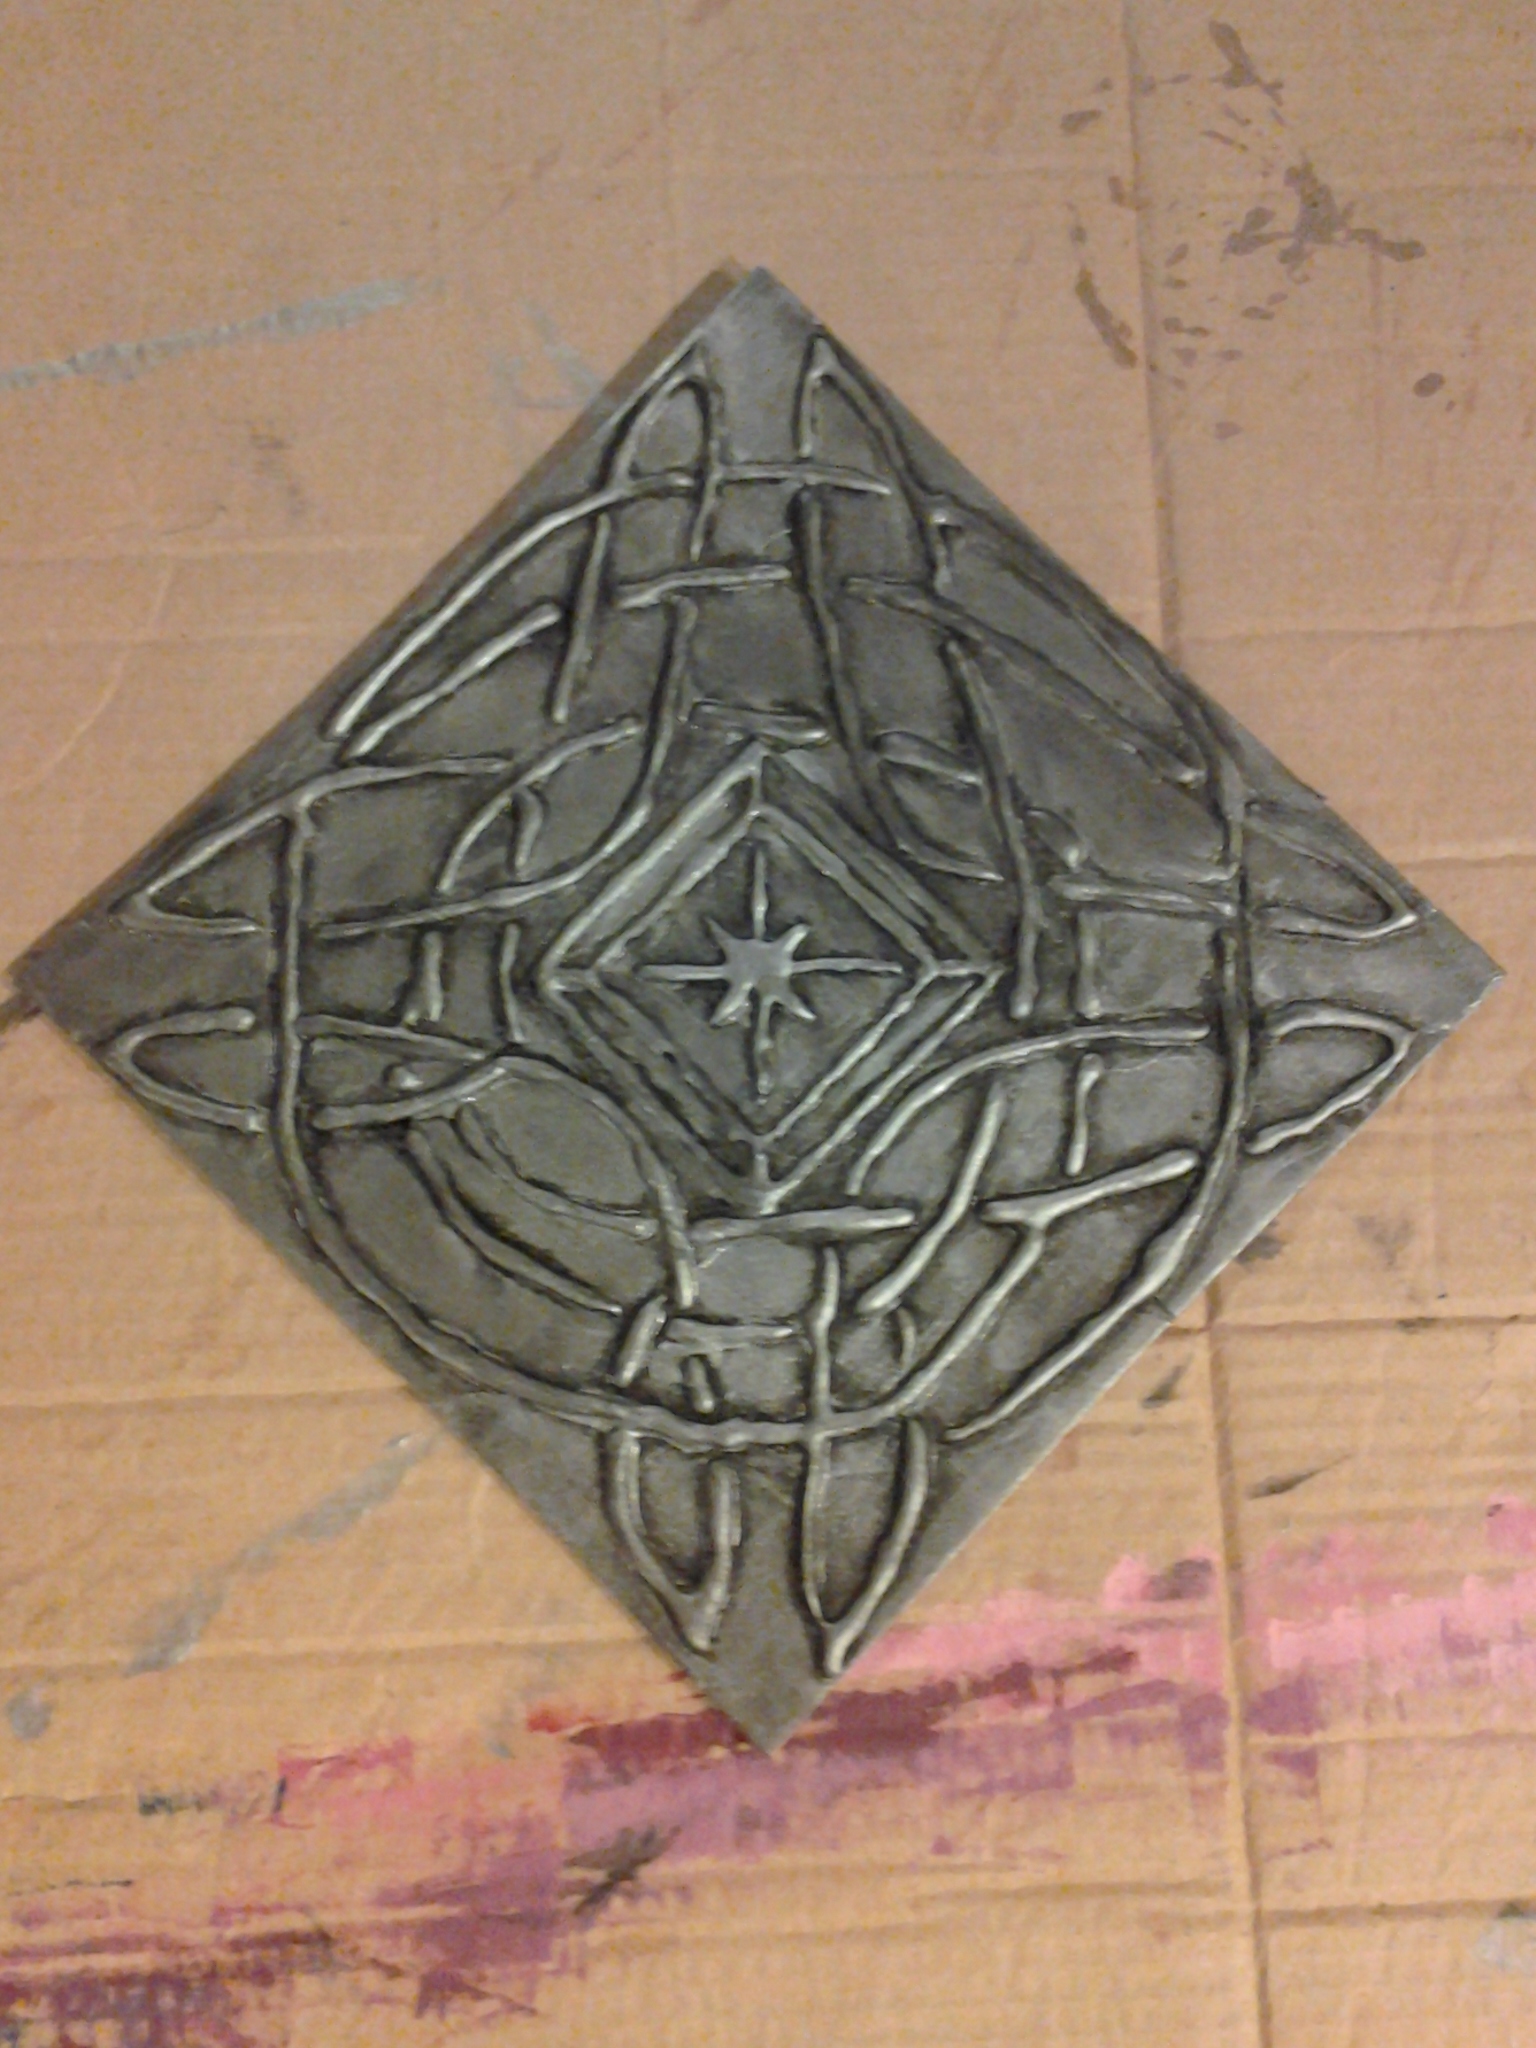
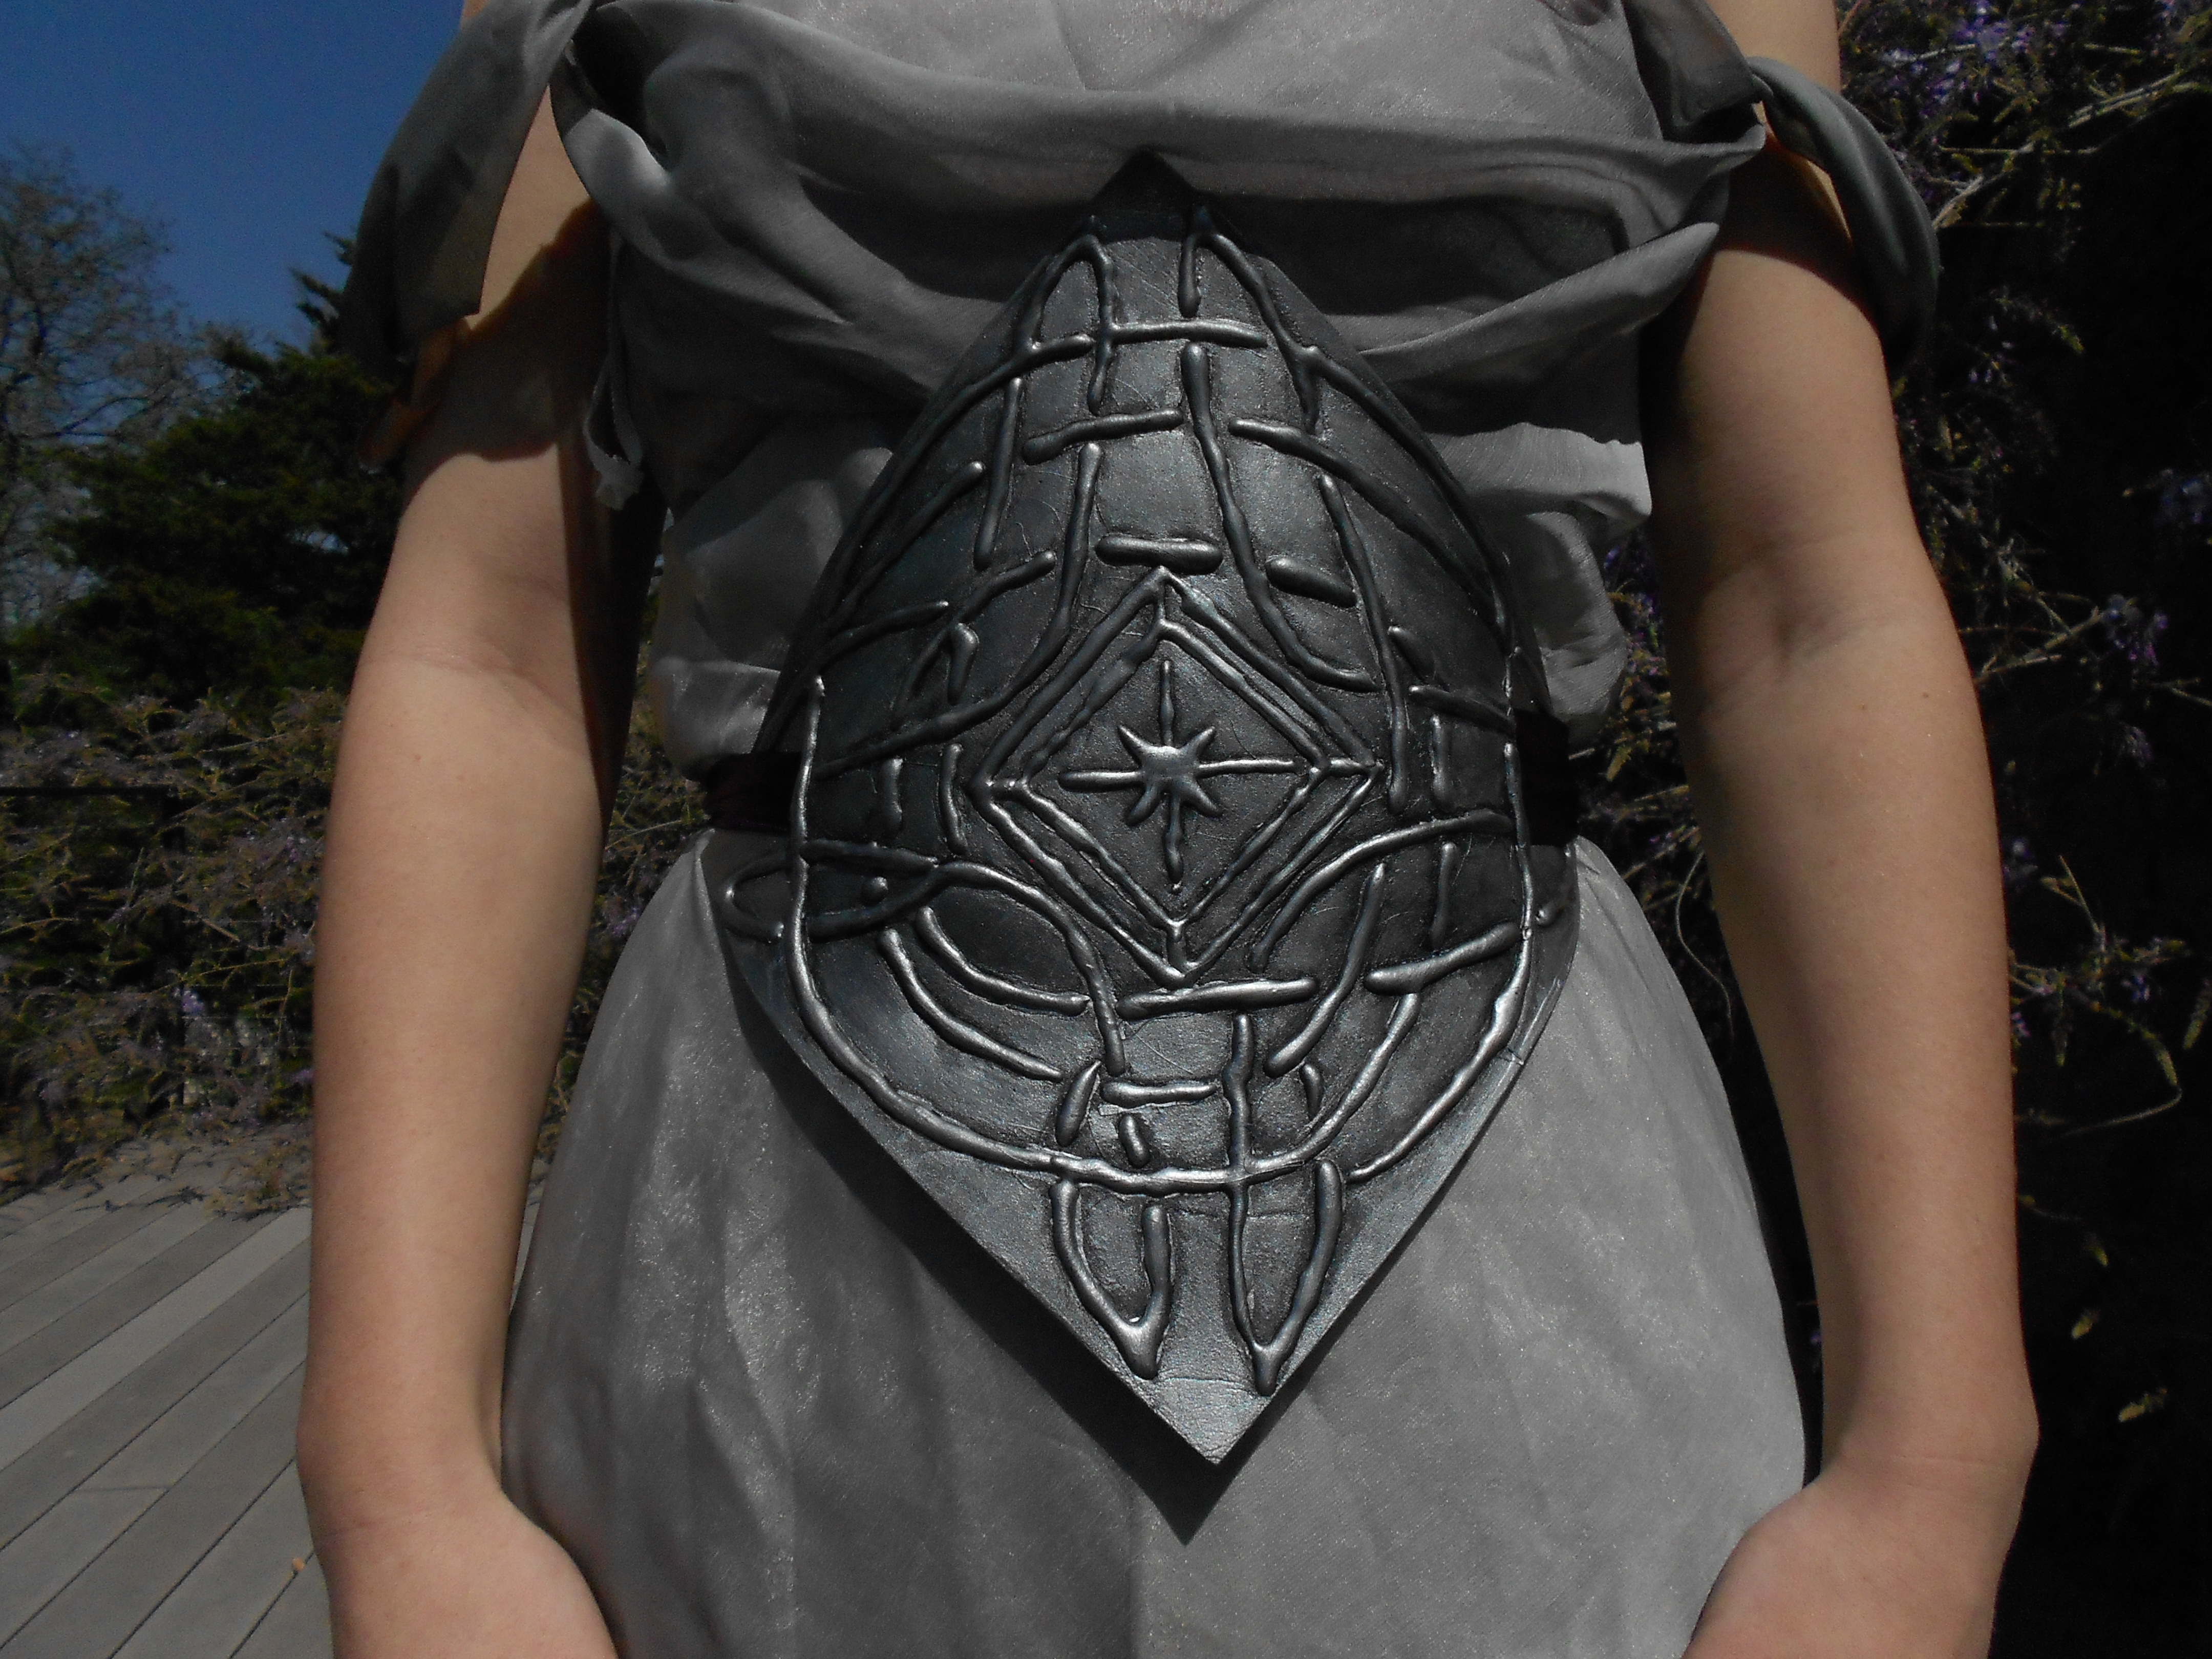
Conclusion: I’ve decided to redesign my wings completely. My next weekend event in May will require me to have a set of wings for Winter and a set of wings for my Pegasus debut. I’m considering doing an armored set of wings instead because the materials used would be far sturdier than the stuff I originally used and it will require far less feathers if most of the top of the Pegasus wings is armored.
Have a DIY wing story or idea you want to share? Leave me a comment below!